Blog

Fun Facts about Percussion Instruments
Percussion instruments are some of the oldest, most universal tools for making music. Found in every culture around the world, they range from simp...
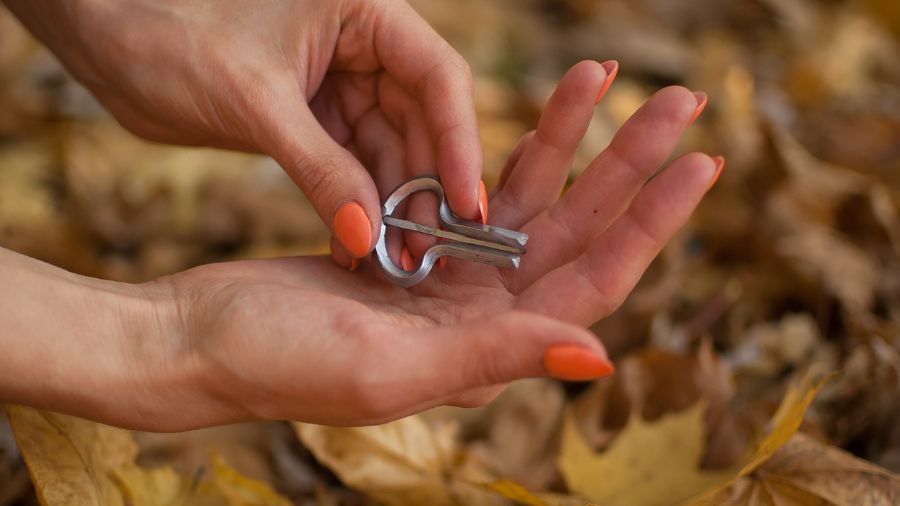
How to Play the Jaw Harp
The jaw harp is one of the simplest instruments in the world—and also one of the most misunderstood. It’s small, ancient, and found in cultures acr...
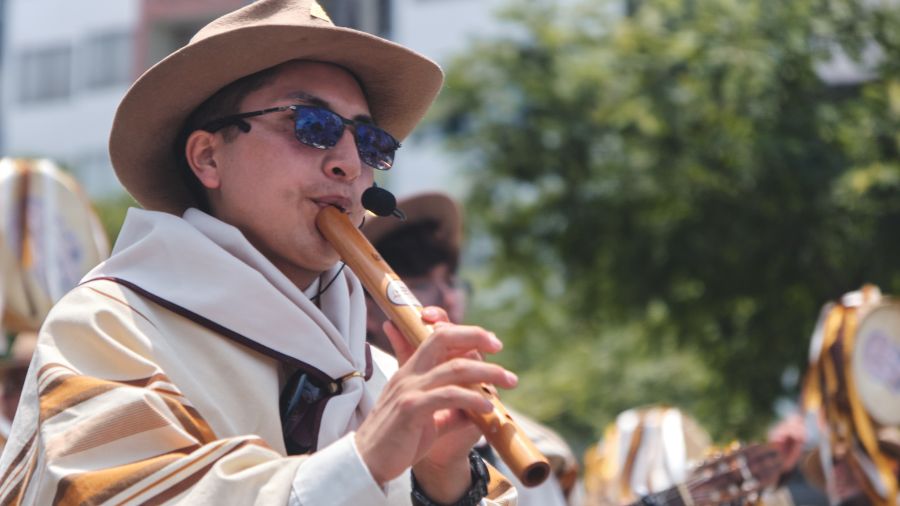
How to Play the Quena Flute
The quena flute is a traditional Andean end-blown flute known for its earthy sound. While the instrument itself is structurally simple—with finger ...
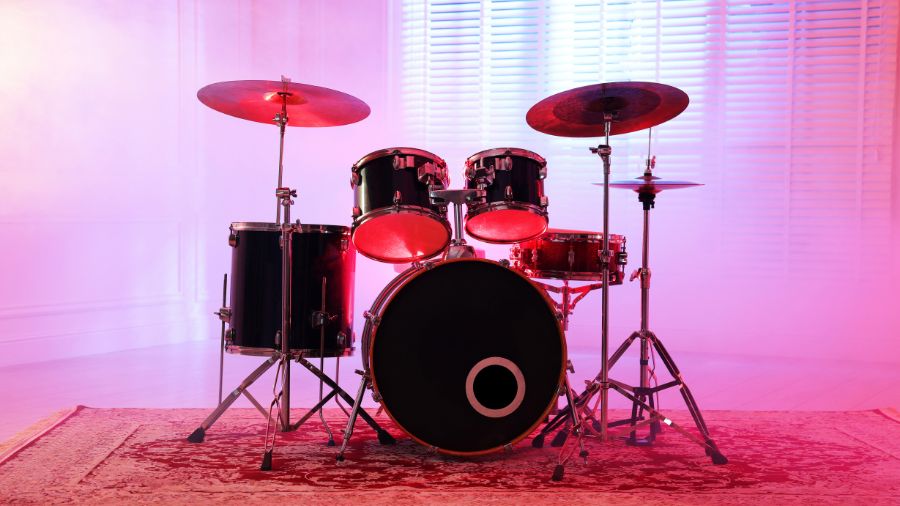
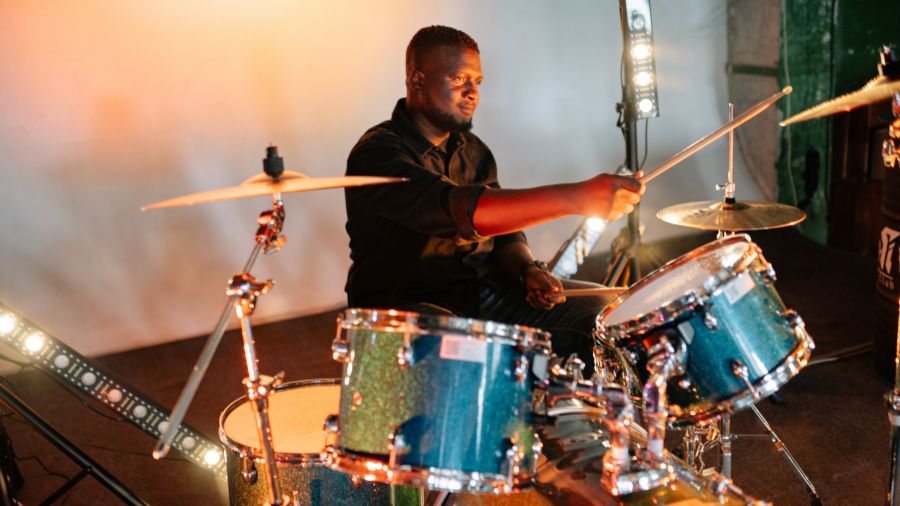
Drum Kit Lessons for Beginners – Complete Guide
This beginner drum kit guide focuses on building real playing ability through short, consistent practice, showing how simple daily repetition devel...
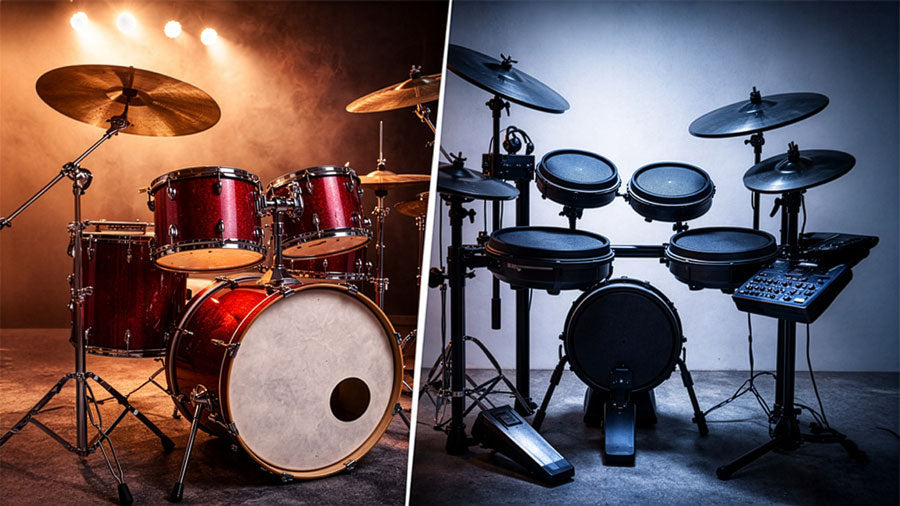
Electric Drum Set vs Acoustic Drum Kit
If you’re thinking about learning drums, one of the biggest questions you’ll face is whether to choose an electric drum set or a traditional acoust...
How to Listen Critically to Music
Many people believe they already know how to listen to music. After all, listening is something we do every day—while driving, working, or relaxing...
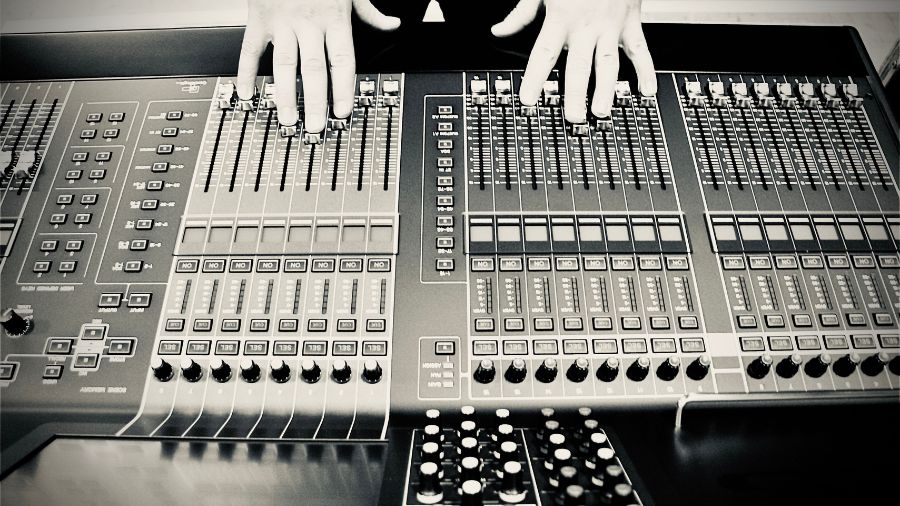
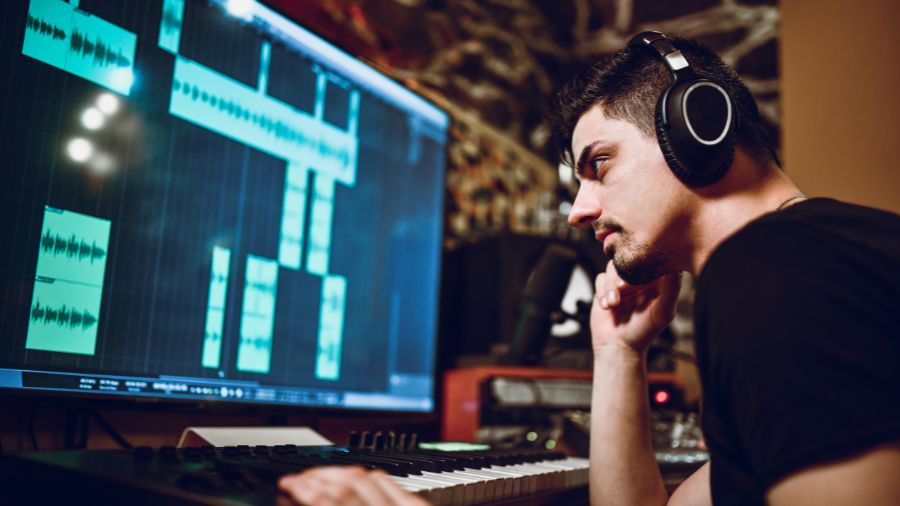
Mixing Hip-Hop Vocals Like A Pro
Mixing hip-hop vocals is about clarity, control, and energy. In a hip-hop track, the vocal is usually the main focus, so it needs to sit clearly ab...
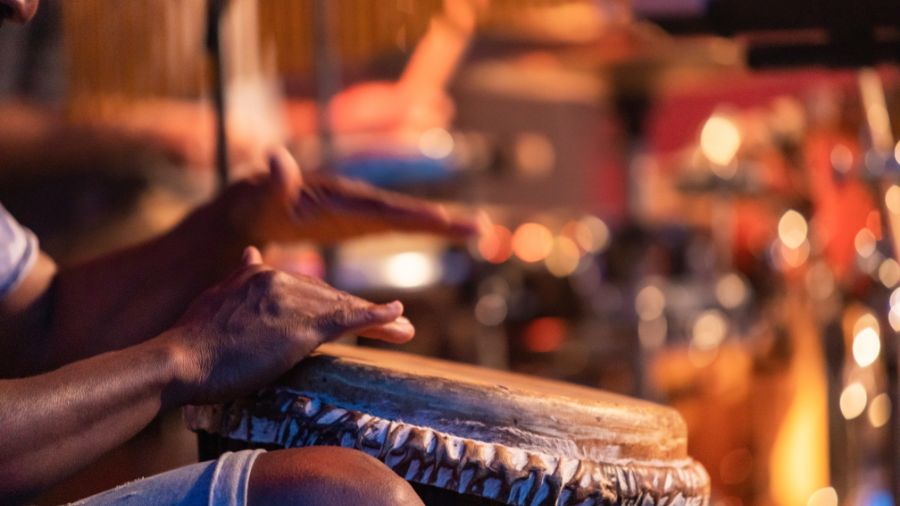
Your First Djembe Drum Beat
Learning your first rhythm on the djembe is an important step in building strong percussion skills. One of the most widely used beginner rhythms is...
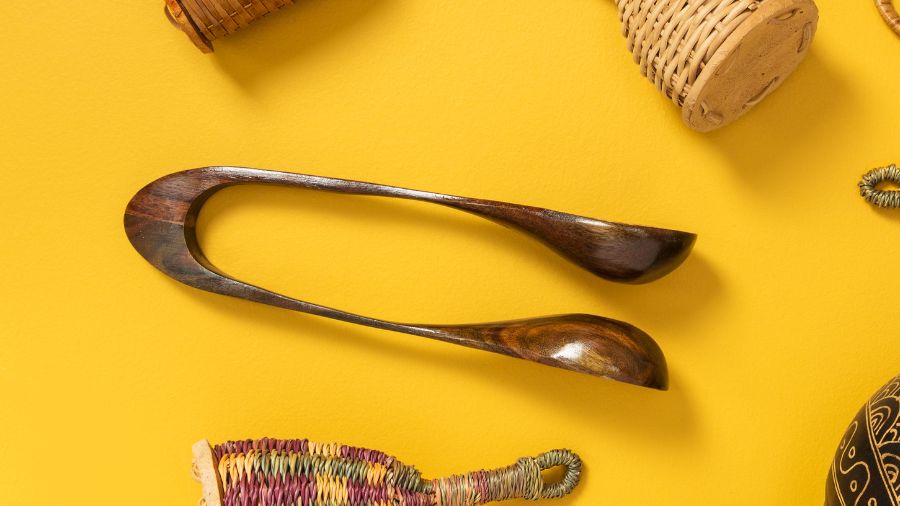
How to Play the Musical Spoons (Tutorial)
Musical spoons are a simple but expressive percussion instrument with deep roots in folk traditions around the world. Using just a pair of wooden s...
10 Beginner Drum Beats
If you’re learning drums, you don’t need a thousand patterns—you need a small set of grooves that show up in real songs. The beats below are pulled...